Red Team: Using SharpChisel to exfil internal network
Last updated
Was this helpful?
Last updated
Was this helpful?
During many Red Team Assessment, we use multiple agents to connect to our target network infrastructure. These agents connect to different C2 servers such as Cobalt Strike, Metasploit Framework, Empire, SharpC2 (recent C2 Framework by ), etc. One of the critical features of these C2 agents is to provide a tunnel to the target network. The latency to tunnels through these beacons or agents is quite high. Also, we generally have to make these agents interactive to make these tunnels work, which increases the risk of detection.
During my exploration of Golang, I was introduced to a very famous tool named as CHISEL. Working with CHISEL is quite unique. Chisel can provide tunnel access to the target network via WebSockets. Chisel is an open-source, fast TCP tunnel, transported over HTTP, secured via SSH.
One thing to note is that Chisel is a Golang application, which means it cannot be used with our current toolset such as CobaltStrike’s execute-assembly. In this post, I want to introduce . SharpChisel is a C# wrapper around Golang Chisel. In my previous post, I had discussed how to make a C# wrapper for Golang.
Using Chisel during Red Team assessment
Chisel has two components client and server. Chisel binary is complied in a way that provides both server and client functionality via a single file. In this post, I will discuss the usage of Chisel from a Red Team perspective.
Setting Up Chisel Server
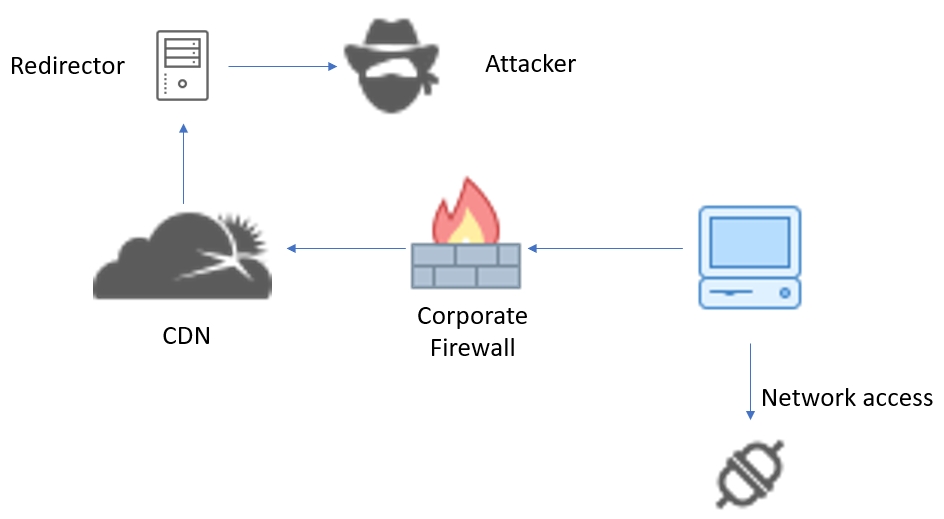
Setting up CHISEL CDN: Hiding the Red Team Infrastructure
Since Chisel works on WebSockets, we will require a CDN/Proxy which supports WebSockets. A few CDN which come to mind are Heroku and Cloudfront. There are a few more, and I will leave that as an exercise for the reader to find other ways to hide the Chisel Server. Let’s set up Heroku, followed by CloudFront
Setting up Heroku as Proxy
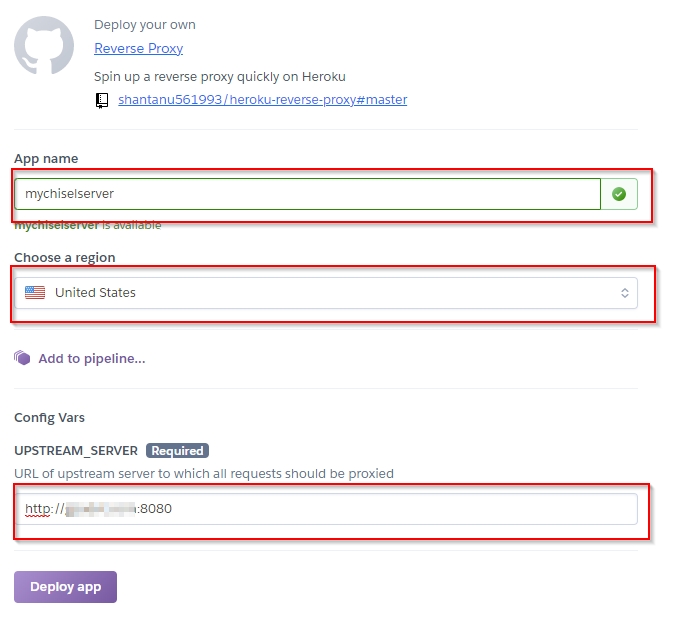
Enter the details as per following screenshot and click Deploy app.
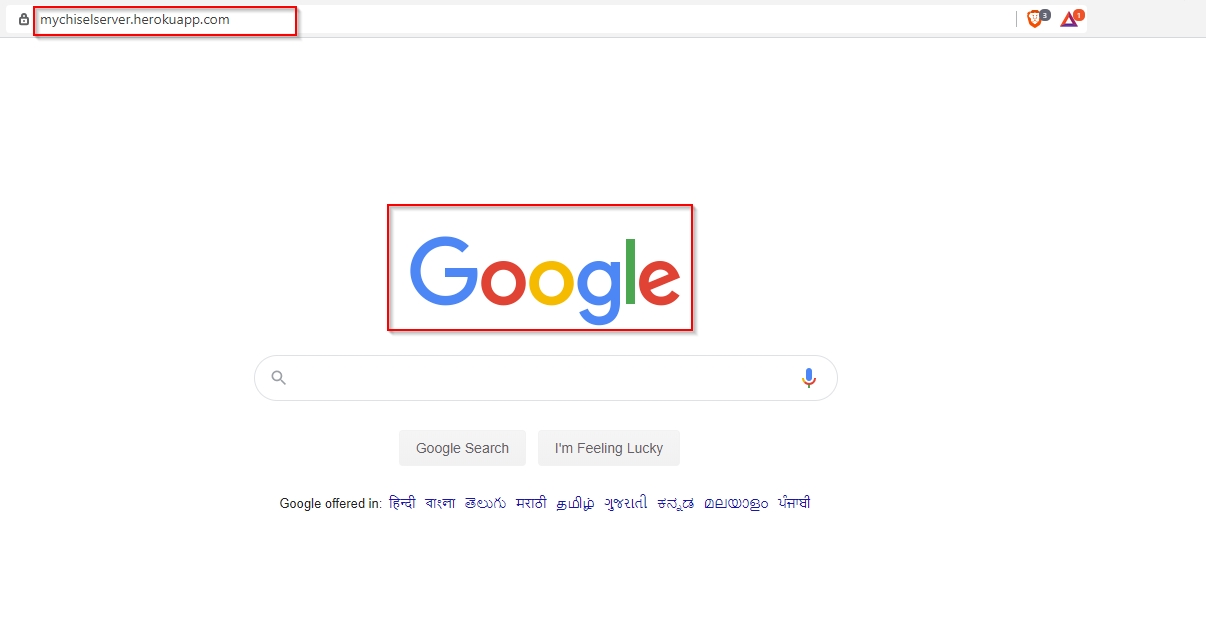
Your proxy will be created. An easy way to check if everything is working is to open <yourappname>.herokuapp.com and check you are presented with your proxy domain set up in server config. In my case it was google.com.
Done.
Setting up Cloudfront CDN
Cloudfront by default supports WebSockets, so there is no extra config required.
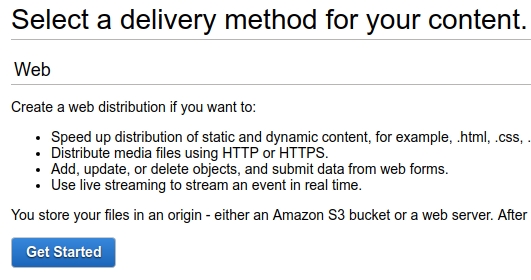
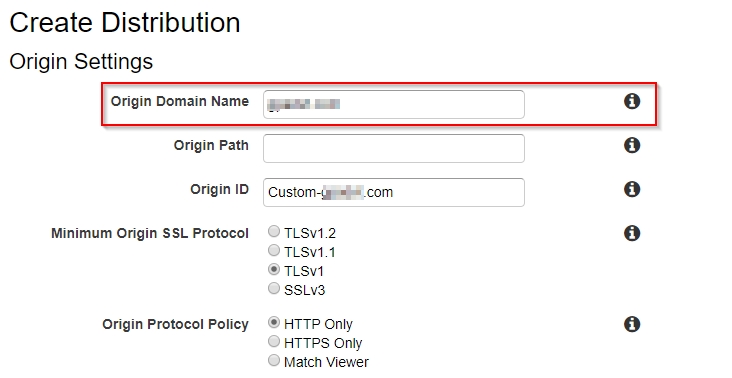
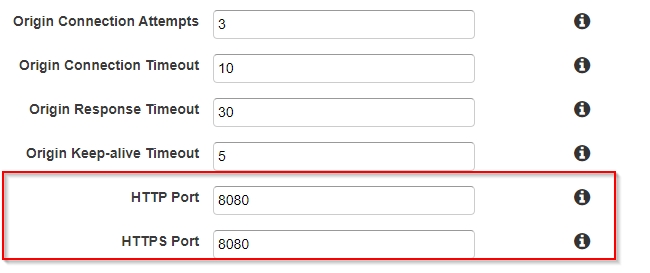
To start, log in to your AWS account, and from the services menu, pick CloudFront. Click “Create Distribution” and select the “Web” option and then follow the screenshots.
In 10 to 15 mins, your Cloudfront should be up and running. Opening the CloudFront URL will show the proxy domain. In my case as said previously, it was google.com
Running SharpChisel on Target Network
Once the client is connected you will see a Socks5 port open on the server
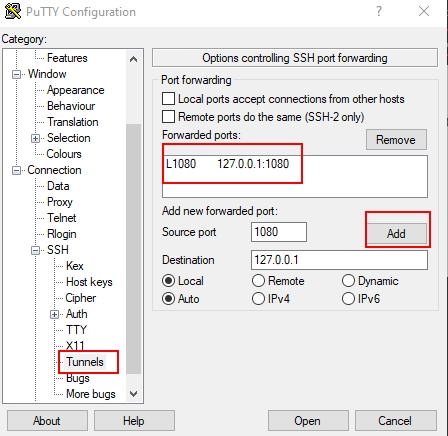
You can now Local Port Forward this port (1080 in our case) to get access to the ex-filtrated network.
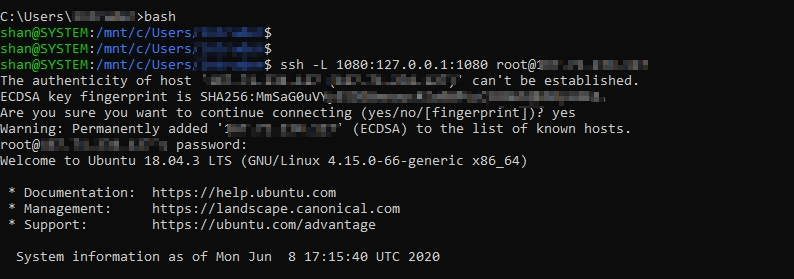
How to local port forward
SSH / Putty or any SSH client can do port forwarding.
Credits: Vincent Yiu, Chisel Dev Team, My Team and all others who continuously help me to improve and work tirelessly.
Chisel’s pre-compiled binaries can be downloaded from . Once the binary is downloaded, the server component can be run on one of your redirector.
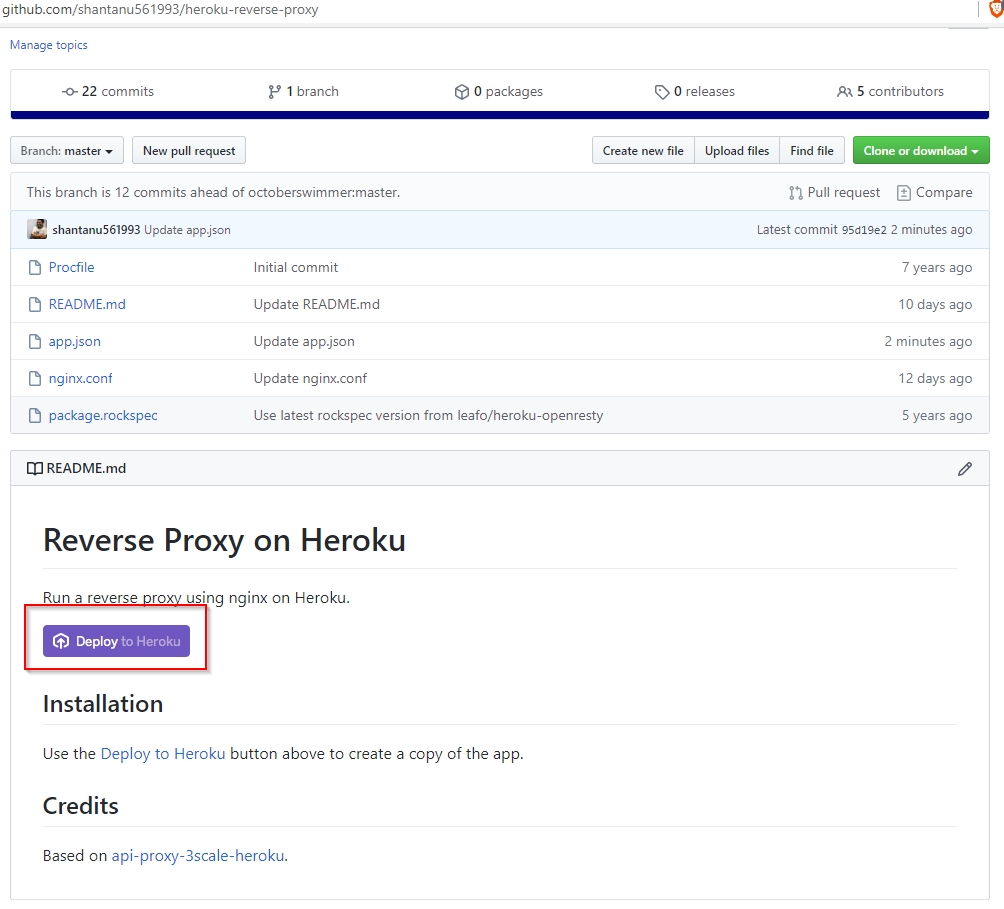
It’s quite simple to set up Heroku as a proxy. Open this repo and click the deploy button.
SharpChisel can be downloaded from . Following commands will be able to tunnel the target network to your chisel server
Conclusion: is a C# wrapper around Chisel which can be used to tunnel or better said “ex-filtrate” network access from the target network.
If you have any issues understanding or using this project, reach out to me on or
